Automation is the process of dynamically adjusting any parameter within your mix and recording that movement, such that it will be performed automatically during subsequent playbacks. This can be any parameter you can think of, especially in the age of DAWs. Whether it is volume, panning an aux send or manipulating a plug-in parameter, automation allows you to go beyond a static mix and guide the listener through the arrangement. You can use automation to find new inspiration for a musical idea, highlight the details that are already there or finalize a mix. The possibilities are endless.
Automation before the age of computers
Back when mixing was done in the analog domain, any dynamic parameter changes added during mixing had to be captured somehow. This meant the changes had to be performed live and recorded. Given the amount of automation we have become accustomed to, one can only imagine how much work it would be to do all of it by hand (or by a lot of hands).
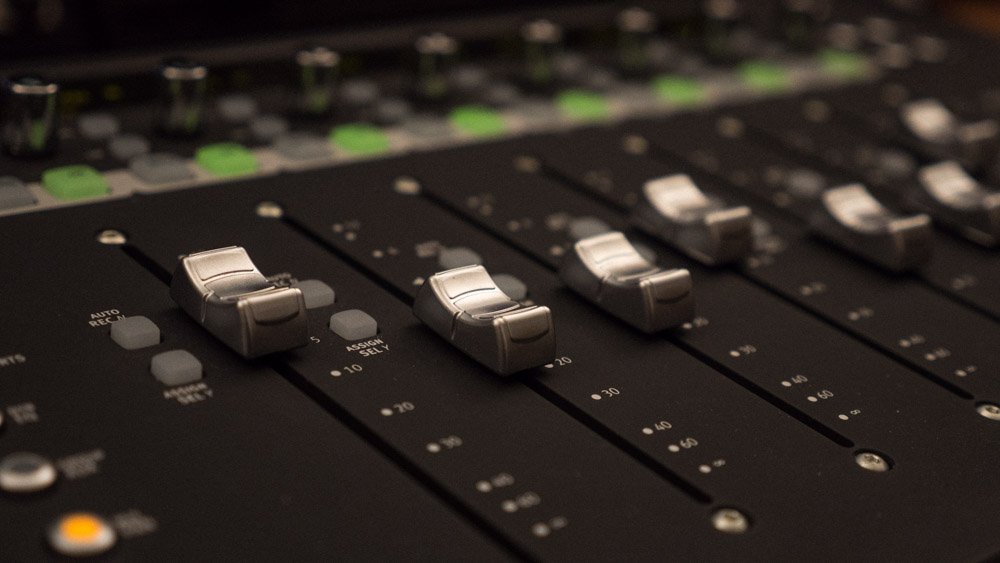
Early on, most changes that were tracked and re-recorded were dynamic changes to a fader on a mixing desk (i.e fader riding). By the 1970s, as multitrack recording became more and more elaborate we saw the introduction of mixing-boards with VCA fader automation. Eventually consoles got their own built-in computers, paving the way for our more modern automation workflows.
Types of automation in a DAW
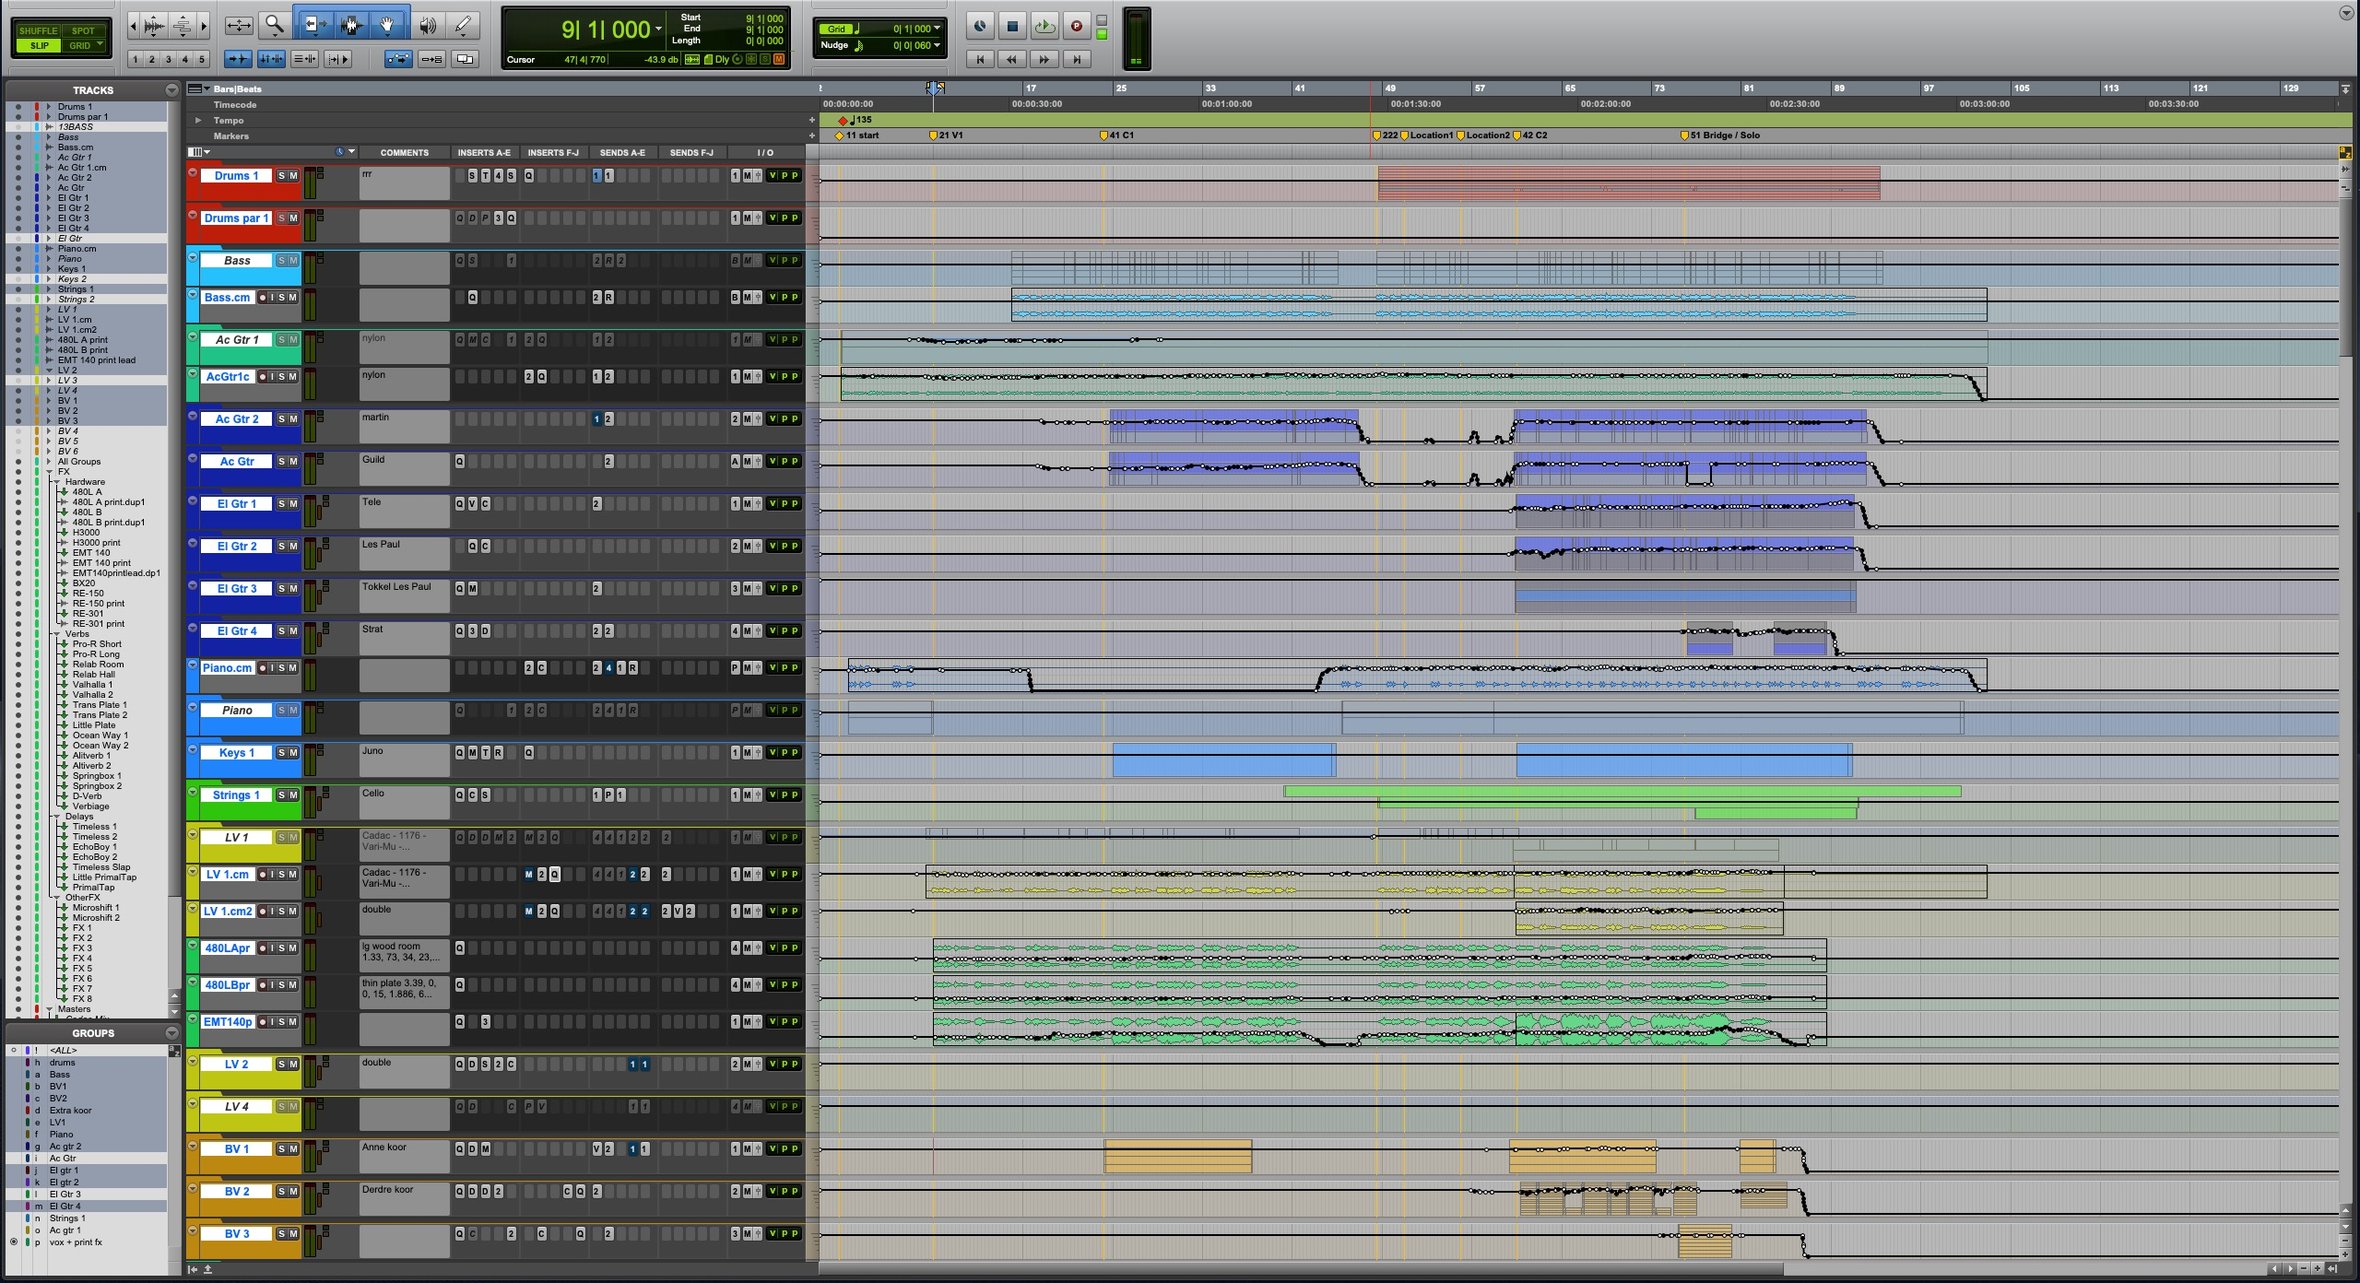
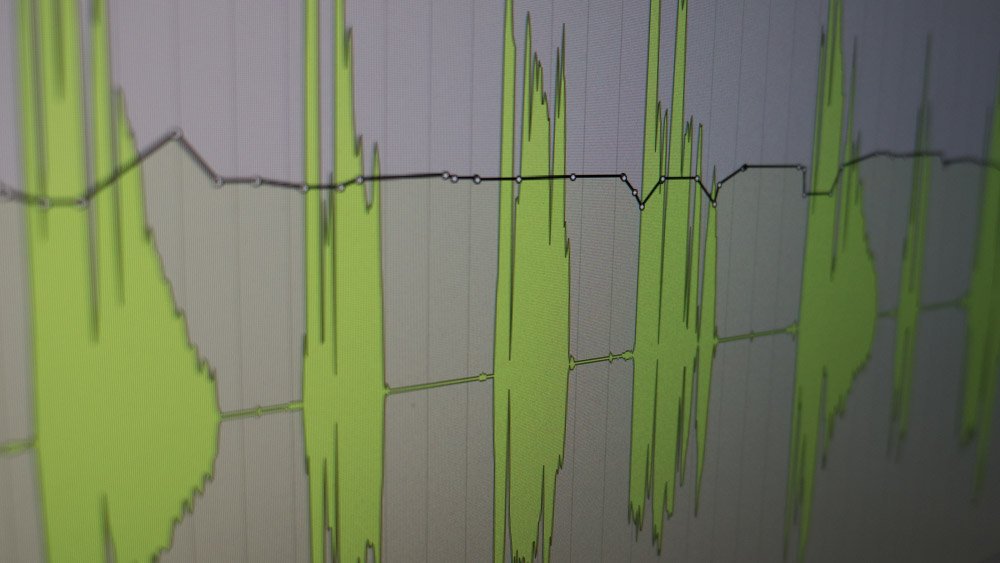
There are different ways of introducing and recording the movements of parameters in your DAW. There are many DAW's around and they all have their own unique spin-offs on automation possibilities. However, the concept remains the same: parameter changes are programmed or performed in real time and then played back automatically on subsequent playbacks. Once created, automation data is usually displayed as a line superimposed on top of the audio waveform.
Typically, a DAW will have different modes or behaviors for automation entry:
- Read: Plays back all automation that exists on the track. For example, let's say you've recorded some automation on a volume fade. In Read mode, you will see the fader moving according to the automation that you've written. Moving a parameter in read mode may temporarily override the recorded value, but this value will be restored once the parameter is released.
- Touch: When playback starts, any existing automation is read. While a parameter is being manipulated, new automation is written. When the parameter is released, automation goes back to reading existing data.
- Latch: Similar to Touch. When playback starts, any existing automation is read. While a parameter is being manipulated, new automation is written. When the parameter is released, automation continues to write at the last value, replacing any existing automation on the track.
- Write: When playback starts, automation is written immediately, erasing any existing automation on the track as the playhead passes over it. Records the new control movement or deletes the existing data if you do nothing.
Think about spicing up your mix by introducing movement in the transitions of the song by using automation on aux sends to delays, reverbs and so on.
Automation as a finishing touch
Most engineers will start with a static mix that works for the majority of the song, a time tested approach that tends to yield good results. By laying down a solid foundation for the overall mix, automation passes are likely to be more of a refinement of what is already there. This approach works best in recordings and arrangements where a lot of dynamics are already embedded in the recording.
Top-Down
A common approach is to start with automation on a lead vocal or a lead instrument. More often than not, a dynamic mix has the tendency to bury the vocal in busier parts of a mix and when you turn them up they're way too loud in the softer setions. While a compressor can help remedy this, over-compressing might impact the sound of the vocal too much so you're better off applying volume automation. Since this approach stems from the idea that the overall mix is already pretty solid, there's a lot of room to highlight aspects you want to stand out. Think about spicing up your mix by introducing movement in the transitions of the song by using automation on aux sends to delays, reverbs and so on.
Bottom-Up
A variation on this approach would be to start by automating the rhythm section, or supporting elements first, leaving the vocal or lead automation for last. Sometimes automation on these supporting instruments can help outline the arrangement by highlighting some of the dynamic changes from section to section that can be lost to compression when mixing. The advantage of this approach is that it establishes the context for the lead element to exist within, which may make the lead voice automation decisions easier to make later on.
Automation as Sound Design
In the context of music made mostly in the DAW, automation is often used right at the beginning of a production to make a static sound more lively and interesting. This is where the line between production and mixing can start to blur.
This is often more a part of a creative process as you're likely to be crafting sounds that inspire the rest of your choices in the production. A good example would be with the creation of specific beats, where you can use automation to repeat rhythmic elements, color a specific drum hit, or make a sound appear further or closer for a short amount of time. Even the use of an LFO in a synthesized sound could be thought of as an automation of sorts.
You can also apply this way of using automation to start a mix and it often brings you to unexpected and new choices rather than the top-down/bottom-up approach. When you're mixing for someone else and you're solely working on the mix, it is important you discuss the boundaries of your creative freedom with the artist as you can quite literally turn the production upside down. This can be a great thing, but it can also come as a total surprise if it doesn't convey the artist's idea of the song. Communication is key.